Foraged Blackberry Jam
This is a fun activity, though be careful as blackberries are found on brambles and often in hard to reach places. That means you’ll get scratched legs if wearing shorts, and you’ll get scratched hands, but hey that’s the price you'll have to pay. A plastic lunch box or similar is probably better than a carrier bag to keep them from getting squashed and even though the extra ripe ones look great, they’ll probably get squashed and are hard to wash. If that doesn’t bother you, just throw them all in! Also, less ripe berries have more pectin in, which aids the setting process. Don’t pick more than you need. There’s no point having bag fulls and them going to waste. You can always freeze them and use later or use in smoothies etc.
I’ve found when soaking them in water that little maggots sometimes float to the top, which is normal :0)
In advance, place a little saucer in the freezer and get your jars ready. We go through hundreds of glass jars a year so you should easily have some that you can leave out of the recycling. Different sized jars are great, it doesn’t have to be an old jam jar.
To prevent the jam from going mouldy prematurely it’s a good idea to sterilise the jars and lids either with boiling water (though this can get a little hot on the hands) or baking them in a hot oven for 5 mins.
Weigh the amount of fruit if you want to be a little more precise, and then add the washed berries to a large pan and begin to heat. Once they are simmering you have the option to squash them a little, depending on how ripe they are. Then add the sugar. As you can see below, I just through everything in from the start. I just guess the amount, but maybe around 40-50% of the finished in terms of weight should be fine, eg. 200grams of berries use about 165g of sugar. A previous method I used (when I took it a little more seriously) was to heat the sugar in a bowl in the oven and add it gradually, this prevented the jam from cooling down.
After about 5 mins on a rolling boil, it’s time for the crease/wrinkle test. Take a little of the jam on a teaspoon and place it on the cold saucer (that you had in the freezer) this will cool the jam rapidly, so when it is cool, push it with your finger to see if has formed a skin and should crease. If it doesn’t then increase the temperature for a few more mins.
It might not crease which might mean that the jam won’t set firm, but no worries. Adding a squeeze of lemon is said to reduce the ‘scum’ that might form on top, so add that now.
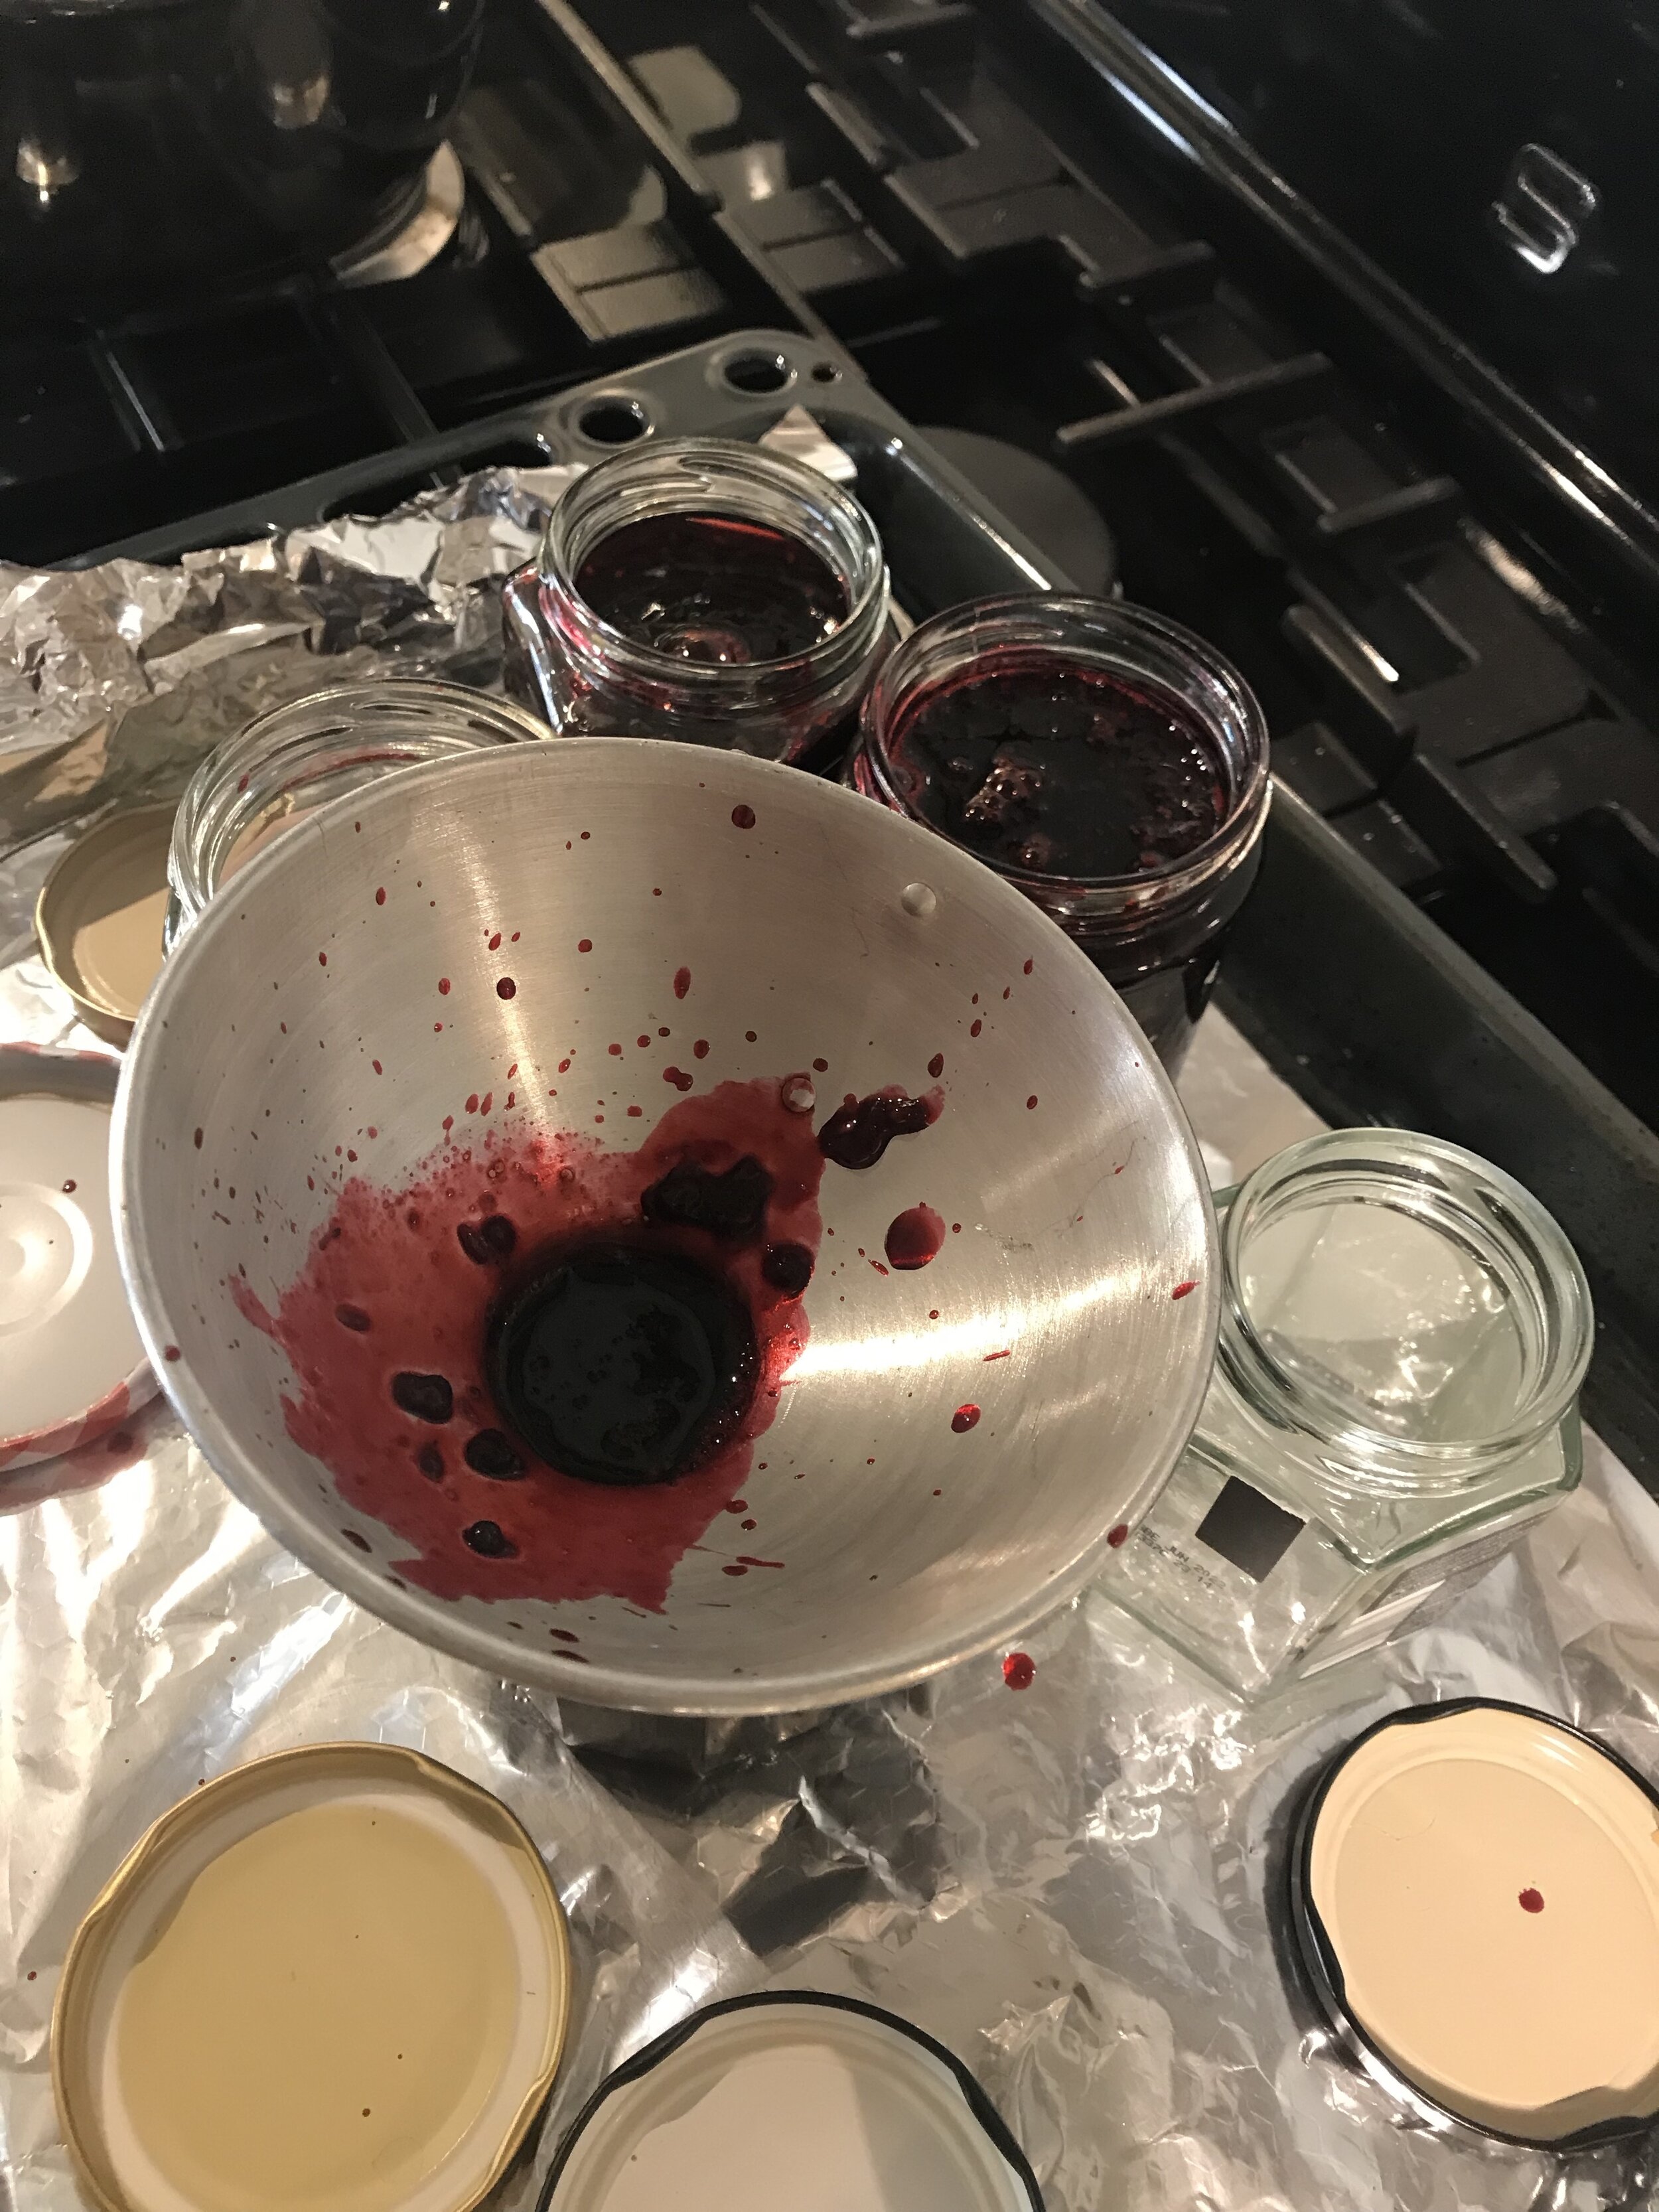
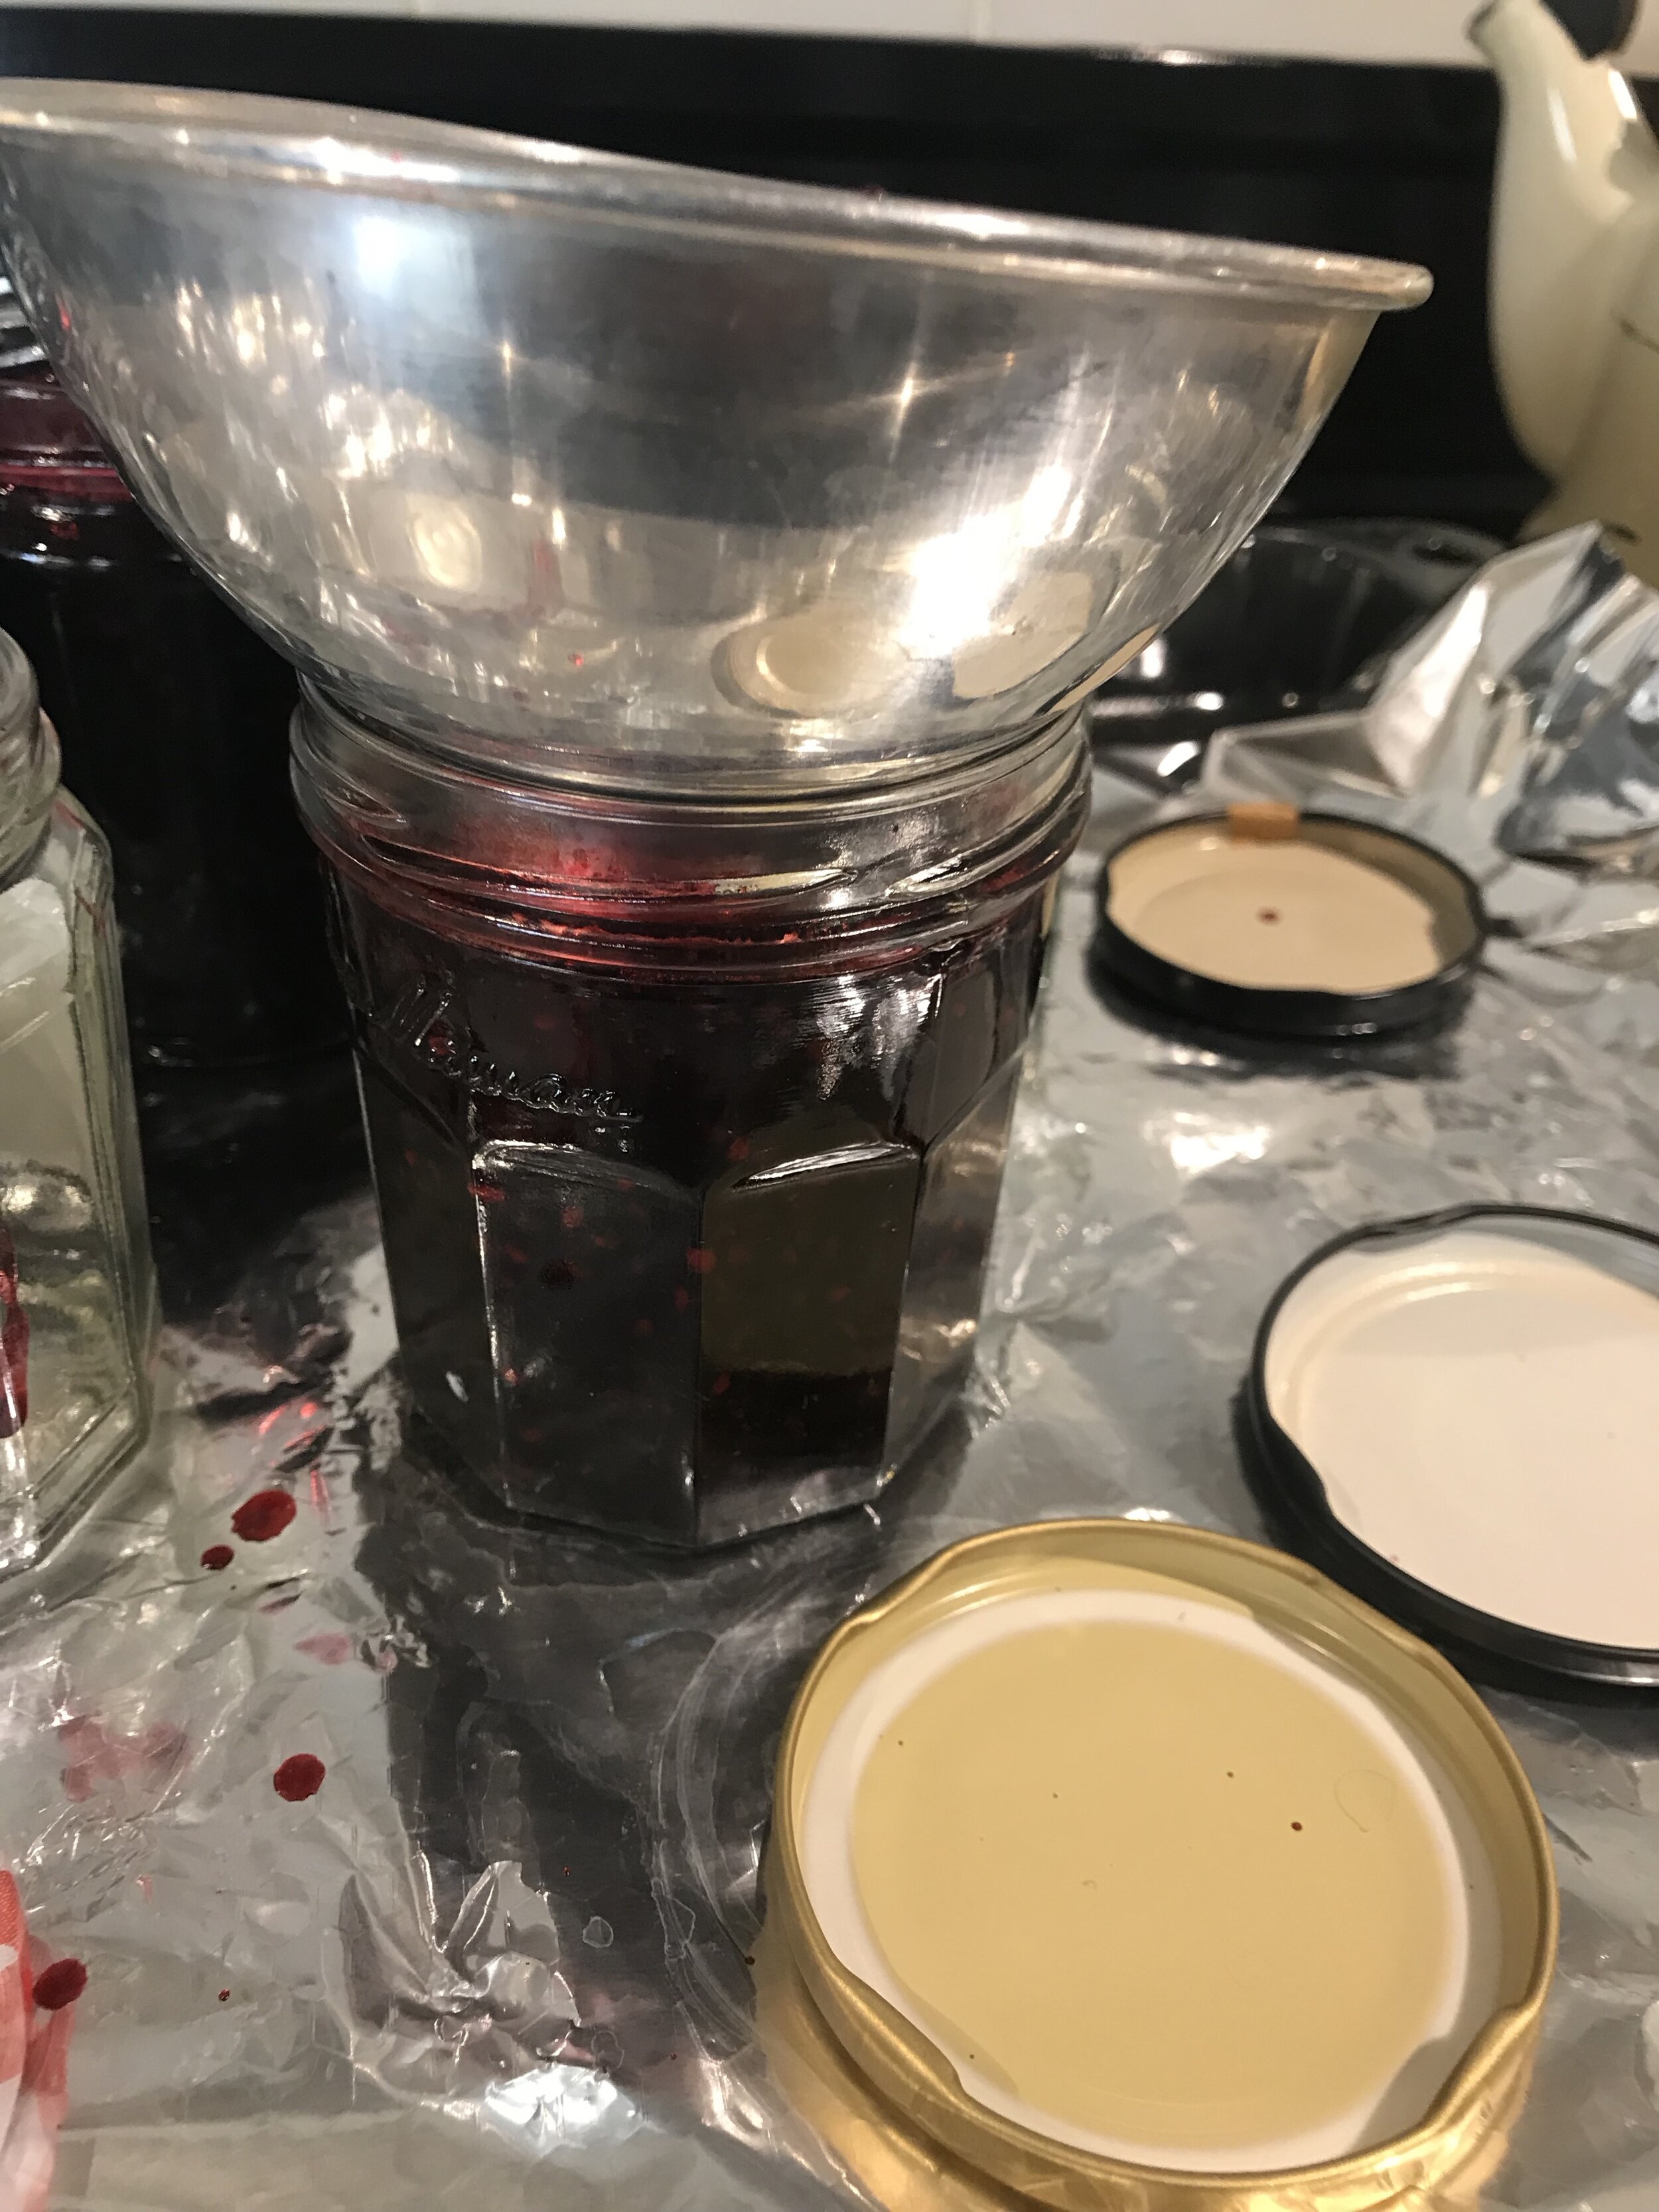
A jam funnel is really useful/essential to fill the jars. You may wish to leave the jam to settle a little, as pouring scolding hot jam into the jars can cause hot splashing which can also cause staining etc.
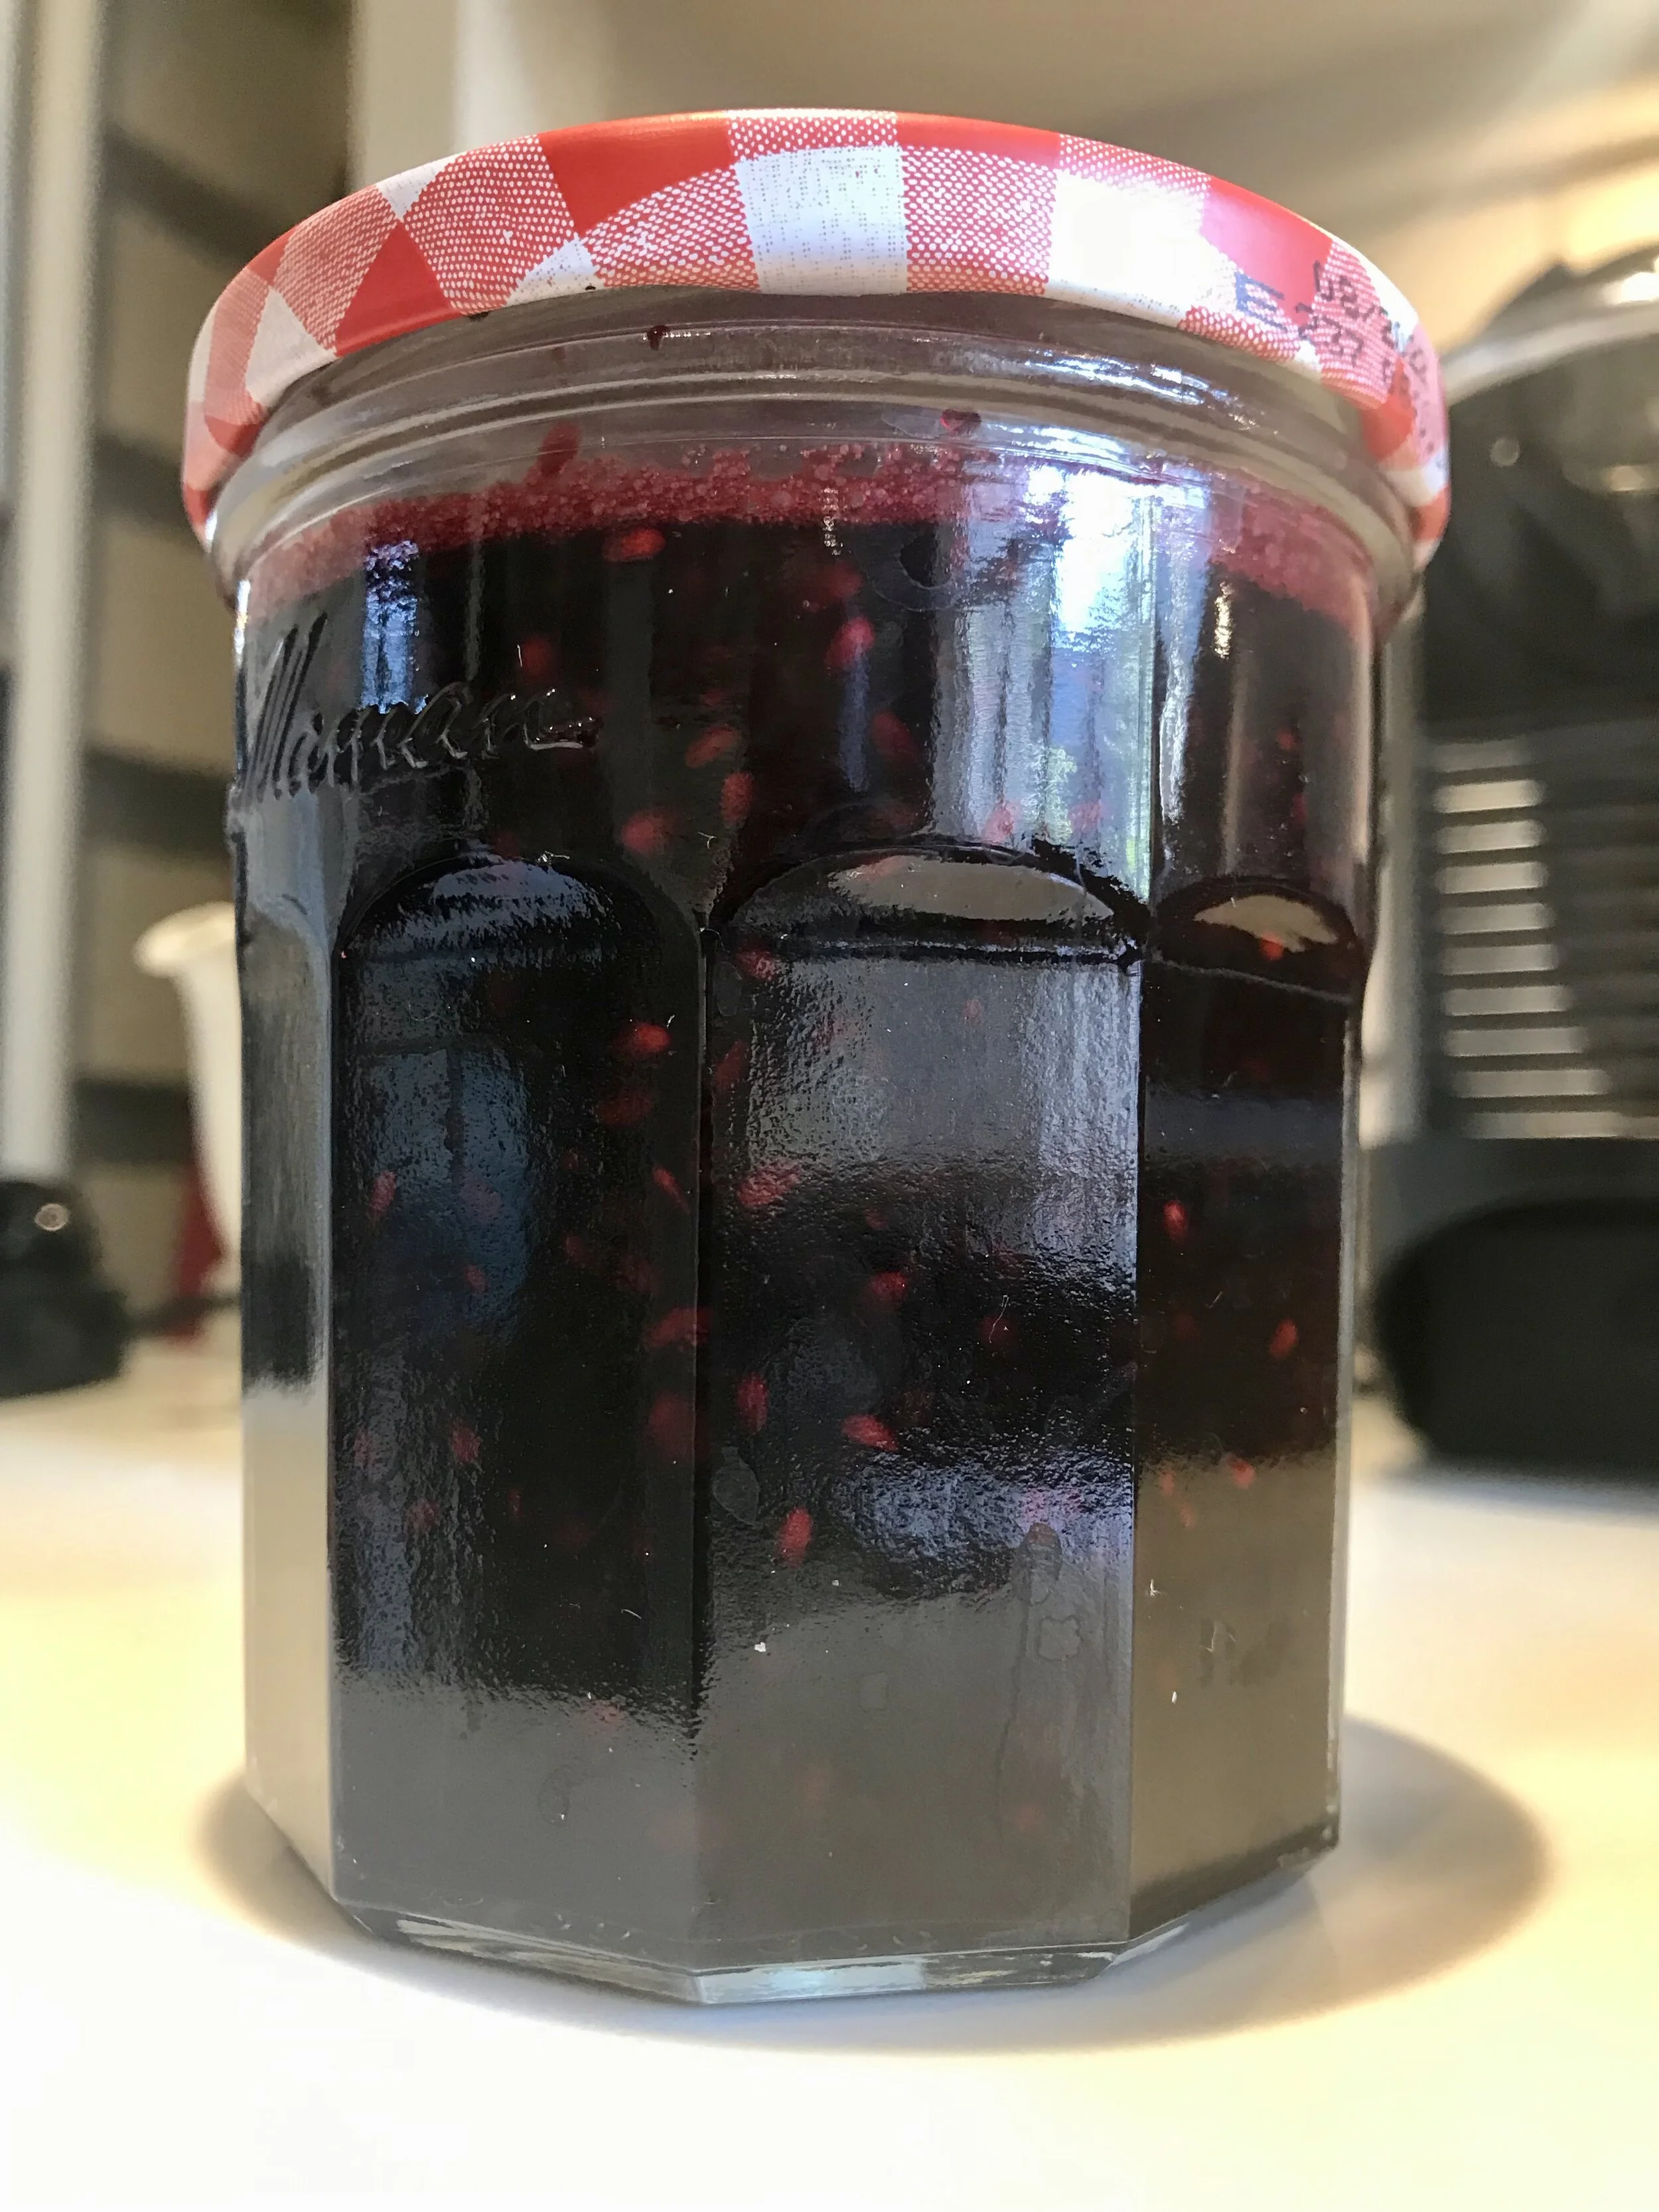
Once the jars are full, there are several methods of adding a a seal but I just use the original lid. Remember, the glass jar will get hot, so screwing the cap on might require a damp dishcloth to hold the jars, and the cloth is also likely to get stained :)
The jam should last about 6 months if sealed (not refrigerated), though I’ve had jam last much longer. Once opened, keep refrigerated. If mould does form, apparently it is safe to scrape it off and still eat the jam, unlike with shop bought jam.
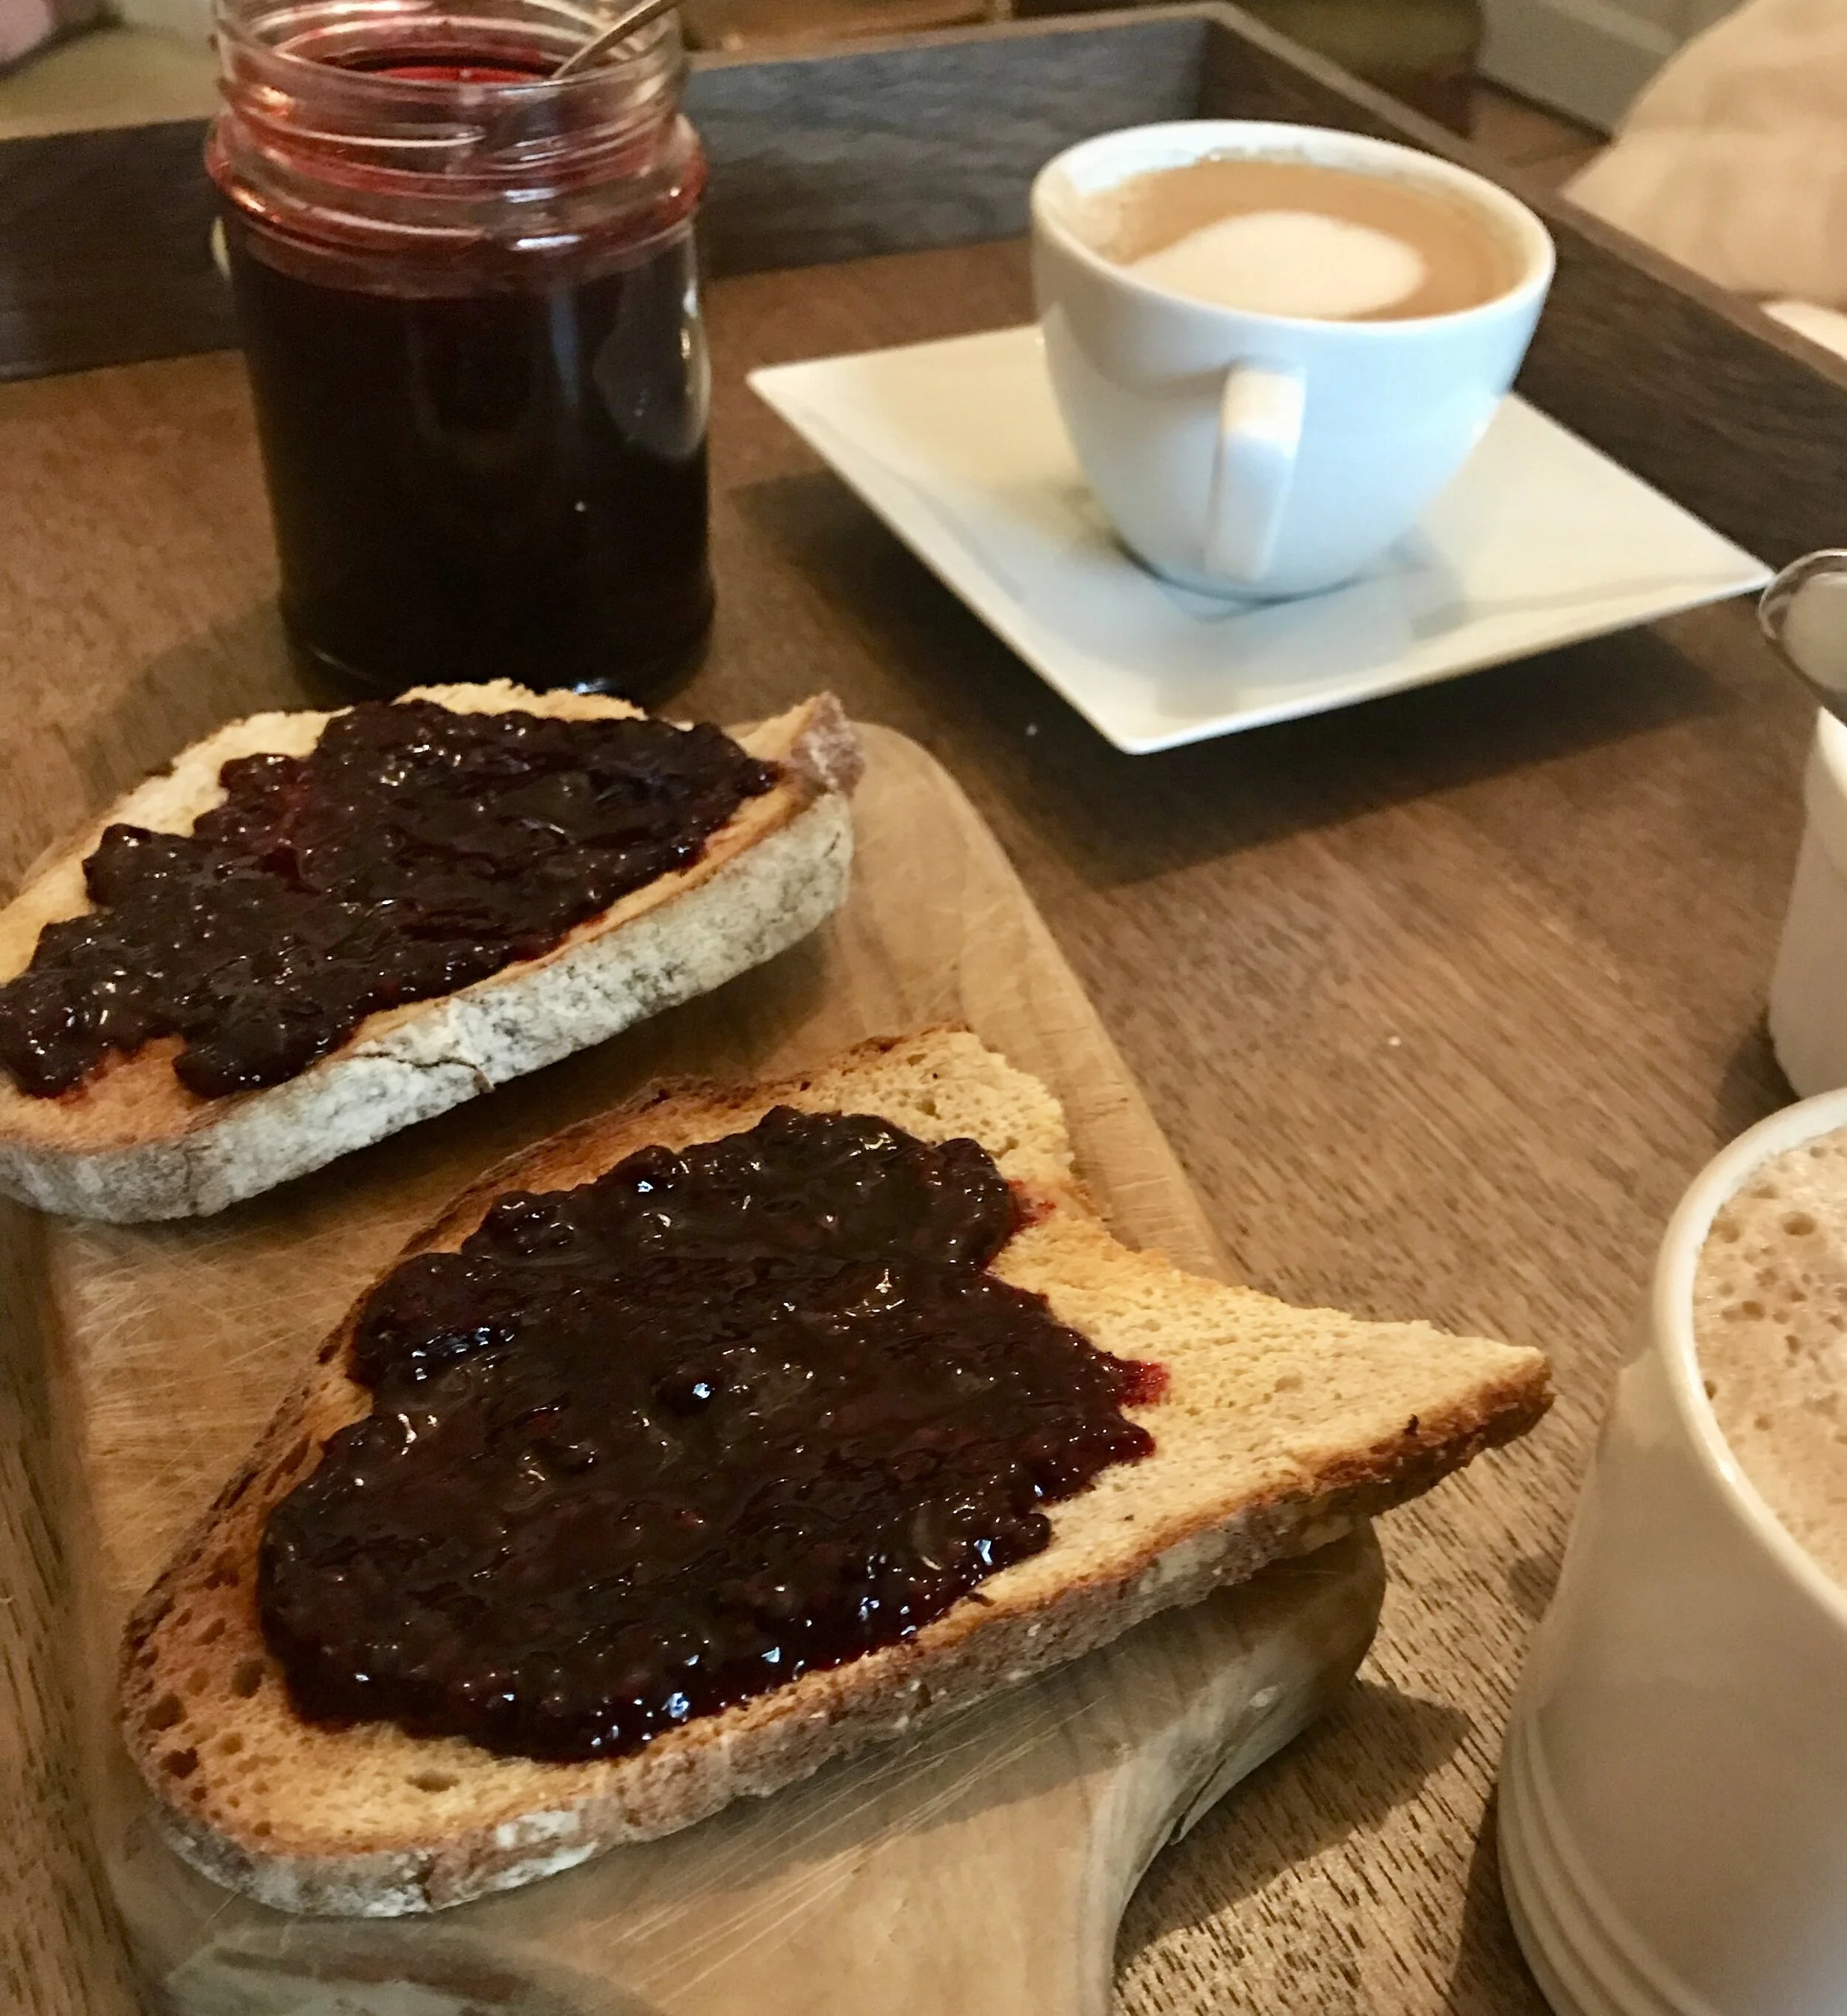
Enjoy on crumpets, croissants, tea cakes, toasted sourdough or soda bread with your preferred brew.